
***I am re-posting my tutorial from the Sewing Rabbit today! And an update - I currently have all the bodice pattern pieces drafted and graded to size 12! I just need to publish them in a document and give a tester call! Hopefully in the next two weeks!***
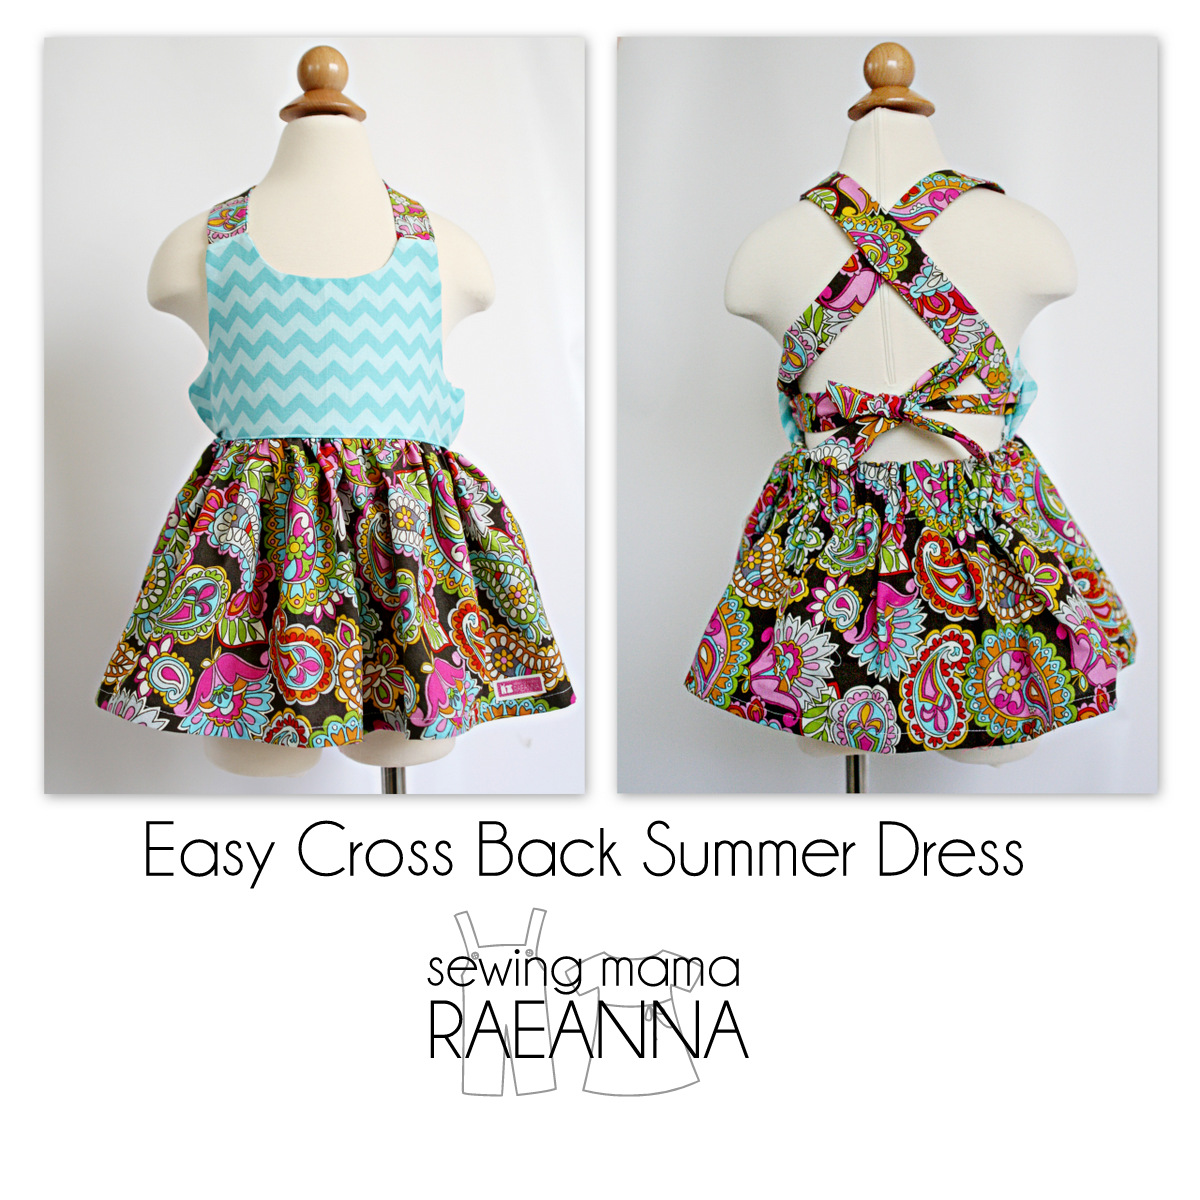
Easy summer dresses are my absolute favorite thing to sew! You can customize this tutorial to be a cross back dress, or if you leave off the skirt, a little tankini bathing suit top!
Easy summer dresses are my absolute favorite thing to sew! You can customize this tutorial to be a cross back dress, or if you leave off the skirt, a little tankini bathing suit top!

Materials needed (size 2T)
Bodice - 1/4 yard
Straps - 1/4 yard
Skirt -1/2 yard (for a very full skirt, you will need 1 yard)
Elastic - 1.5" wide elastic 8" in length
First, let's start off with the bodice. You will want to create your own bodice block by following my instructions below, or download the size 2T here!

As the illustration above shows, you will create a "block" for your bodice according to your child's measurements (and add in ease and seam allowance!) I will have a graded version soon so make sure you follow my blog to see when it's available! I was so impressed with the technique of using "negative space" in pattern pieces when I recently completed a sweet romper by Melissa of Sew Like My Mom! I used that same technique when I cut out my bodice.

I took the neck and arm measurements and placed just those two pieces of paper on a folded rectangle of fabric to cut out my bodice! It is sooooo much easier than tracing around an entire bodice pattern! If you're making your own measurements you will need to determine the length you need for your bodice lining loops, shoulder straps, and the skirt. If you're making the 2T you can reference this cutting chart:

(To create a full skirt for a size 2T, cut 34"x11" and a skirt casing 34"x2.5")
Now for the construction!
Step 1:
Sew the bodice lining loops.

Step 2:
Attach loops to the bodice lining.

Step 3
Sew straps by folding the strip right sides together matching the long edges.
Begin stitching at one end and angle up to the raw edge. Clip the excess material at the angle before turning right side out.

Using a tube turner or crochet/knitting needle, turn the tube right side out and press.

Step 4
Sew front and lining right sides together with the straps sandwiched in between.

Turn right side out and press.

(To make this a cute swimsuit top, turn right side out and fold under the bottom raw edge and topstitch closed! You will loop the straps around the back and through the bodice lining loops to tie in a bow at the back for a cute little tankini top!)
Step 5
Sew back casing to back skirt at raw edge with right sides together (finish bottom raw edge of casing with serger or narrow hem)

Step 6
Turn back casing to the wrong side of the skirt back and press the seam. Place back skirt section right sides together with front skirt section, lining up the bottom raw edge. Sew side seams and finish seams with a zig zag stitch, serger, or other preferred finishing technique.

Step 7
Using a long basting stitch, sew a gathering stitch across the front skirt section.

Gather the thread to fit the length of the bodice.

Step 8
Pin the bodice to the skirt front with right sides together.

Step 9
Sew the bodice to the skirt and finish the seam with a serger, zig zag stitch, or other finishing technique. Press the seam up toward the bodice.

Step 10
Topstitch the bodice 1/8" from the seam.

Step 11
Sew a stitch along the bottom of the back casing. Leave 2" at the sides open to insert elastic.

Step 12
Using a safety pin, thread the elastic into the back casing.

As you reach the end of the elastic, stitch in place.
 Continue threading to the other opening and secure elastic in place with stitches and sew the casing opening closed.
Step 13
Hem the bottom of the skirt by pressing 1/2" to the wrong side and another 1/2" and then stitch in place.


Oh, that sweet little baby skin makes me all kinds of happy!!!


If you make a version for the special little girl in your life I would love to see a picture! Join my Facebook Group here or upload to my Flickr Group here and share! And don't forget to check out my new Tilly Skirt in the Sewing Rabbit Members Only Bundle!!! Available ONLY through the member site!!!!

Eva Mae: "Yaaaaay!!!"

Such a lovely article! We are grateful to you for sharing this information with us.
ReplyDeletePay Someone To Take Online Class For Me